Ensuring your inflatable boat maintains the correct pressure is essential for its efficient operation. If a leak does occur, repairing it quickly will avoid a low-pressure situation that will cause long-term problems with the condition of the boat.
It’s important that inflation valves in inflatable boats work properly to prevent an unwanted loss of air pressure. If a leak does occur, the cause of the problem must be quickly identified, and resolved.
First, check to see if the boat seams are leaking using soapy water in a spray bottle. If this is the case, refer to the manufacturer’s instructions for repair. If you believe the valve is leaking then follow the instructions below.
How To Locate and Cure An Inflatable Boat Valve Leak
You’ll need the following equipment:
- Valve wrench of the correct size (or adjustable).
- Rags
- Cotton wool
- Soapy water in a spray bottle
Repairing the leaky valve:
- Spray the soapy water around the valve and in its throat. This will reveal if the valve is leaking.
- If the leak is clearly around the perimeter of the valve, tighten the outer section with the valve wrench. This may stop the leak instantly.
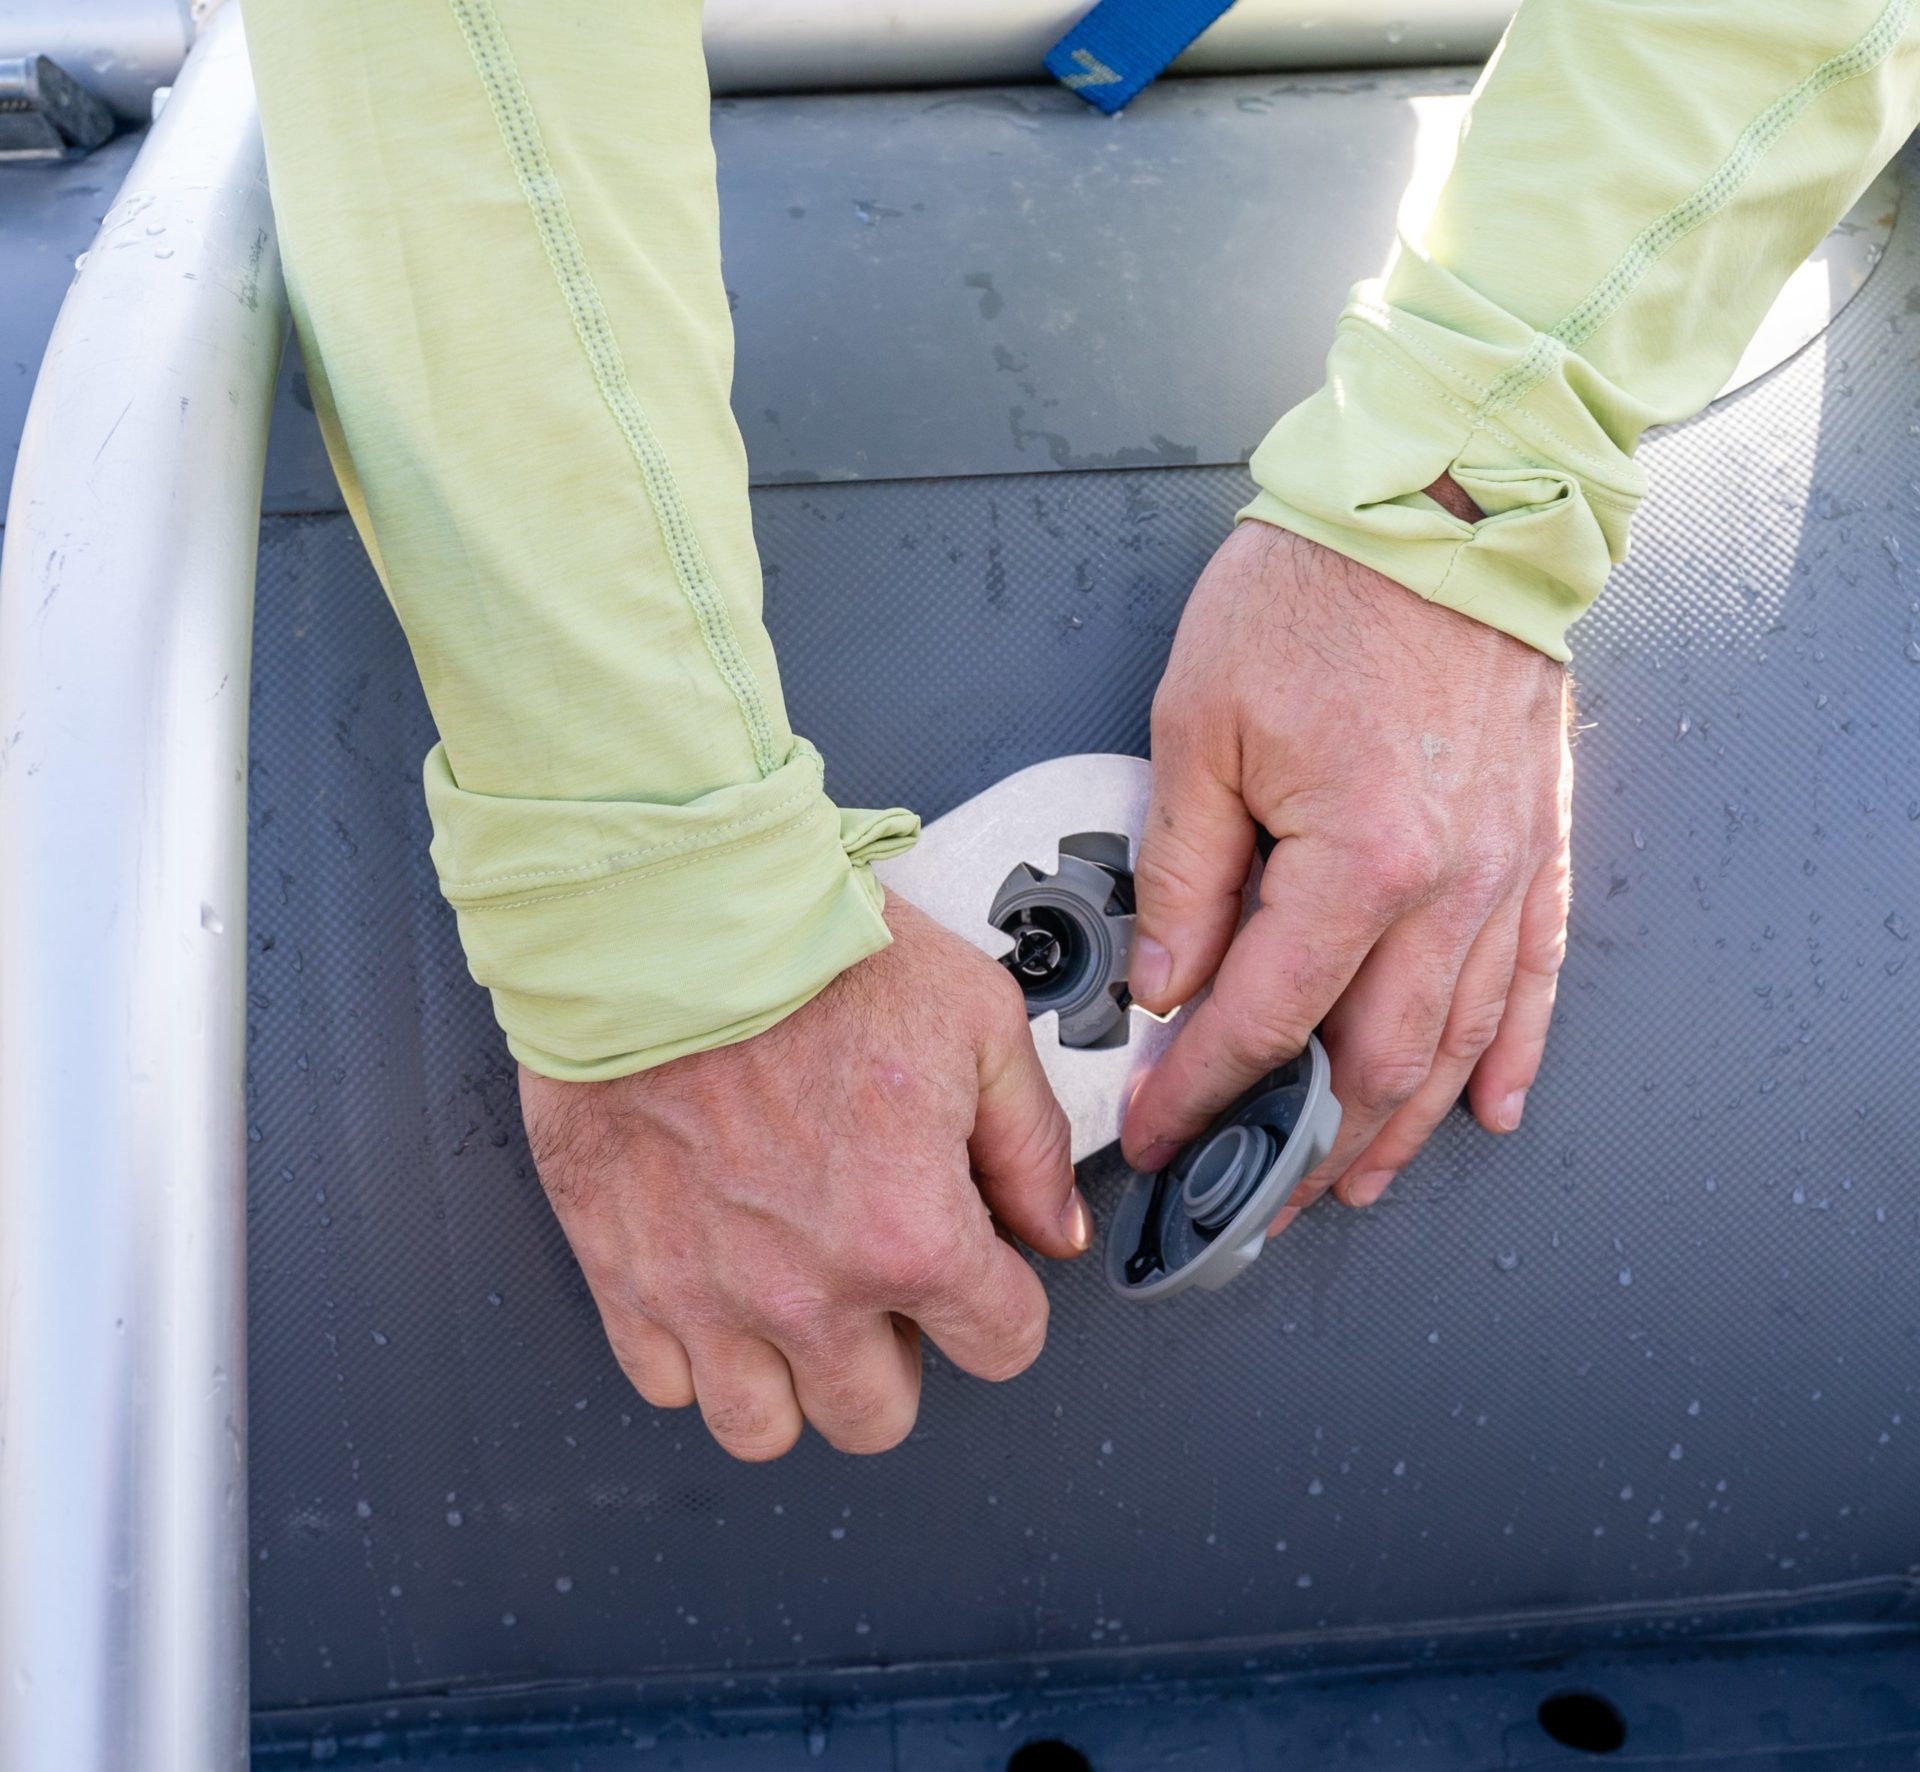
- However, the leak continues, remove the valve and clean both the valve and the surface of the boat. This is easiest if the chamber is inflated. Once loose, deflate the chamber to remove the valve. Make sure that the valve nut does not fall away inside. Once cleaned, hand screw the valve together and fully inflate the chamber to tighten the valve properly. Retighten the valve after 24 hours. If the leak is from within the throat of the valve, grit or sand may be trapped inside, preventing the valve seal from closing fully.
- A persistent leak after these steps have been completed may be resolved by removing the outer portion of the valve and thoroughly cleaning the sealing surfaces. Additionally, check the rubber seal to ensure that it isn’t damaged and replace it, if necessary.
If air valve replacement is required, please contact our Distributors.